
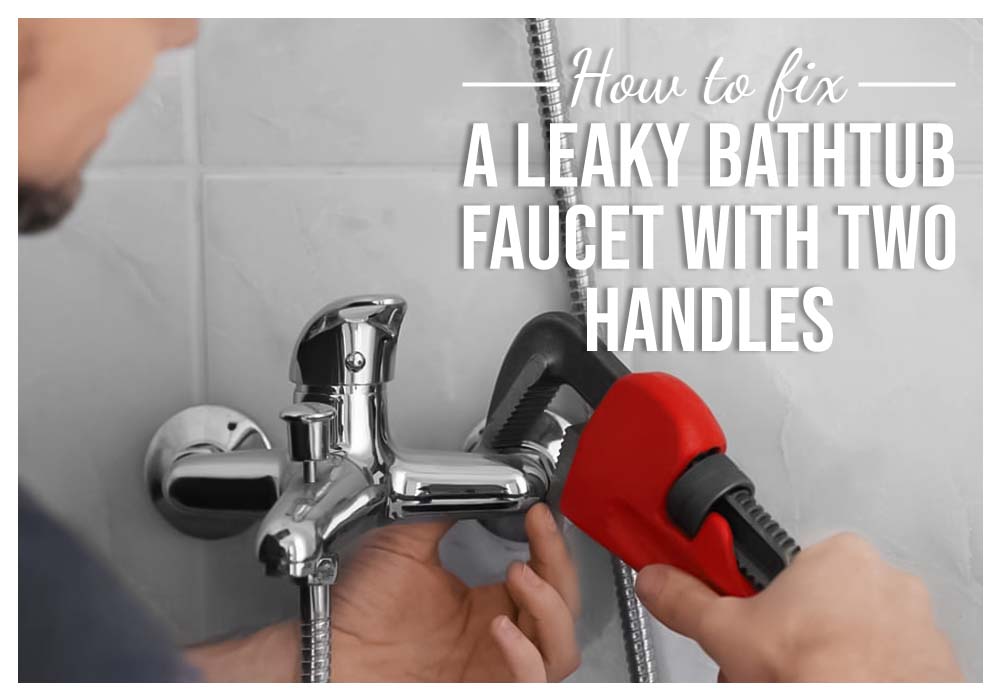
How to fix a leaky bathtub faucet with two handles” is a common question many homeowners face. You’re dealing with the annoying drip of a leaky bathtub faucet with two handles. Not only is it frustrating, but it also wastes water and raises your bills.
Wondering how to replace a two-handle bathtub faucet? Don’t worry! Fixing it yourself is simpler than you think, and it can save you both time and money.
In just a few easy steps, you’ll have your two-handle bathtub faucet working perfectly again. Ready to get started? Let’s dive into how to fix a leaky bathtub faucet with two handles!
Understanding the Cause of the Faucet Leak
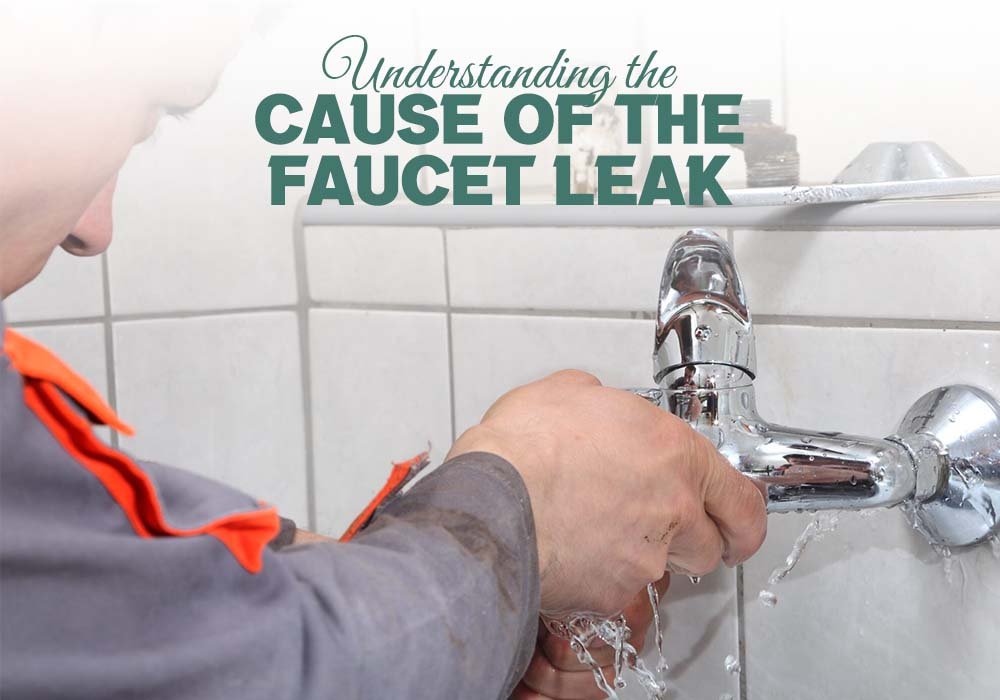
Before diving into leaky faucet repair, it’s crucial to identify the cause of your dripping bathtub faucet. Common culprits include worn-out washers, loose screws, or faulty valve seats, which can lead to continuous leaking.
Inspecting your faucet closely is essential for fixing a leaking two-handle faucet. Turn off the water supply and remove the handles to check for any visible issues, like corrosion or damaged parts that could be causing the drip.
Understanding the source of the problem helps ensure your leaky faucet repair is effective, saving you from future issues. With the right diagnosis, you’ll be well on your way to stopping that annoying drip.
Gather the Necessary Tools and Materials
Before fixing your bathtub faucet with two handles not working, ensure all tools and materials are ready. This preparation guarantees a smooth repair process and avoids last-minute interruptions.
Tools and Materials You’ll Need:
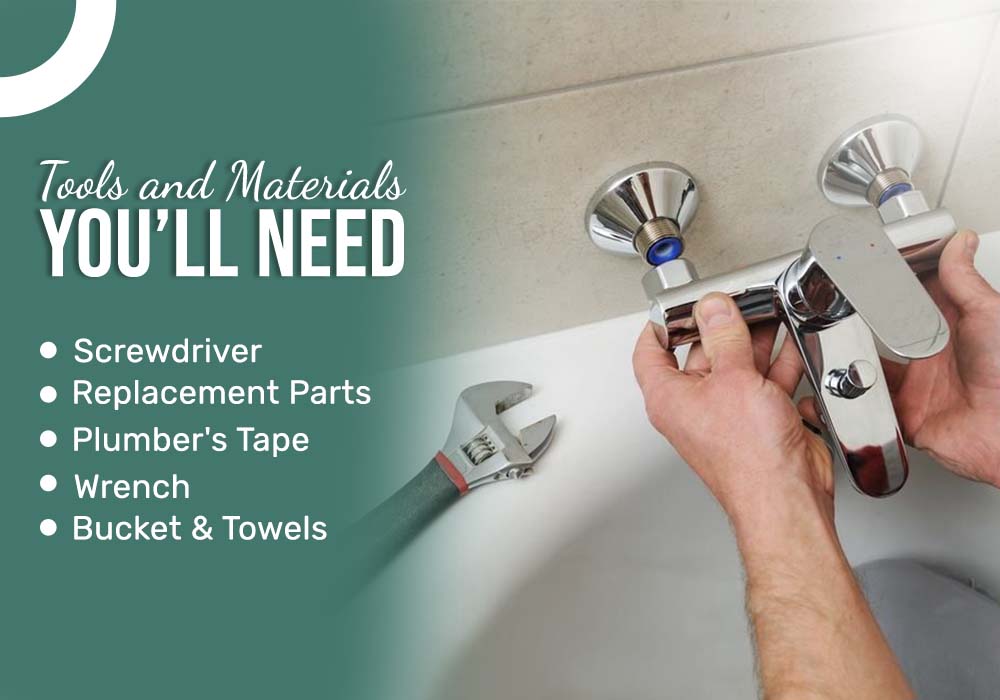
- Screwdriver: A flathead or Phillips screwdriver, depending on your faucet type.
- Replacement Parts: This might include new washers, O-rings, or even a new cartridge if your faucet leaks.
- Plumber’s Tape: Essential for sealing threads to prevent leaks. If you don’t have a plumber’s tape, a rubber band can be used as an alternative in a pinch.
- Wrench: An adjustable wrench to help loosen or tighten nuts and bolts.
- Bucket and Towels: To catch any water that might spill during the repair.
Preparing all your tools and materials before starting your repair tips for a leaking faucet is essential. It saves time and prevents interruptions. Keep everything within reach for a smooth, efficient repair.
Step-by-Step Guide on How to Fix a Leaky Bathtub Faucet with Two Handles
Learn to fix a leaky two-handle bathtub faucet with this step-by-step guide.
Step 1: Turn off the water supply
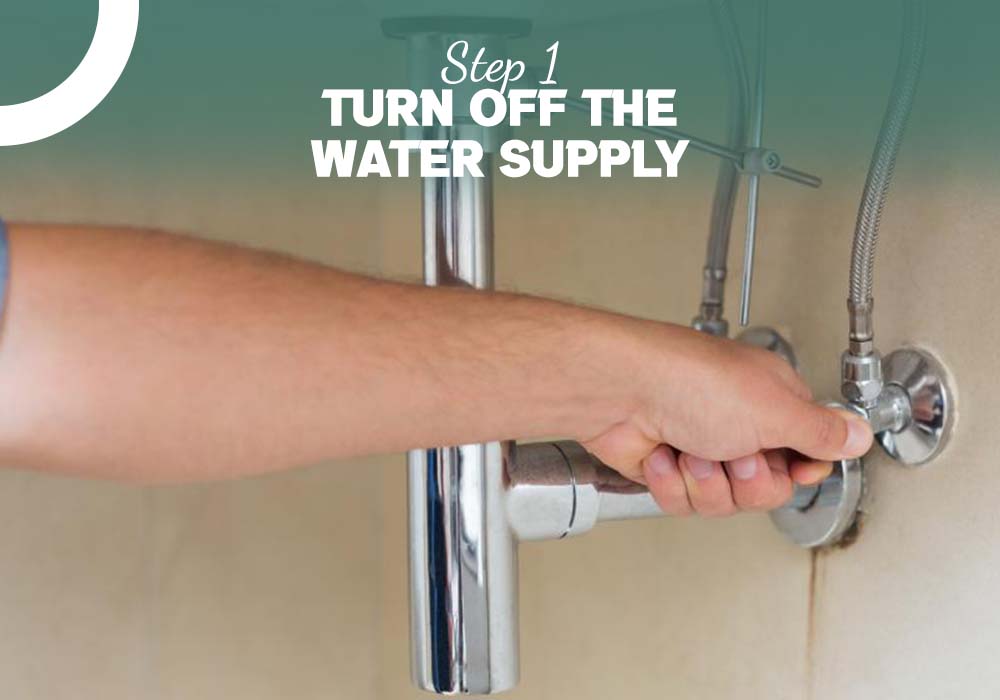
Before beginning your DIY bathtub faucet repair, locate the water supply valve. Turn it off completely to prevent any water flow, ensuring a safe and dry working environment during the repair process.
Step 2: Remove the faucet handles
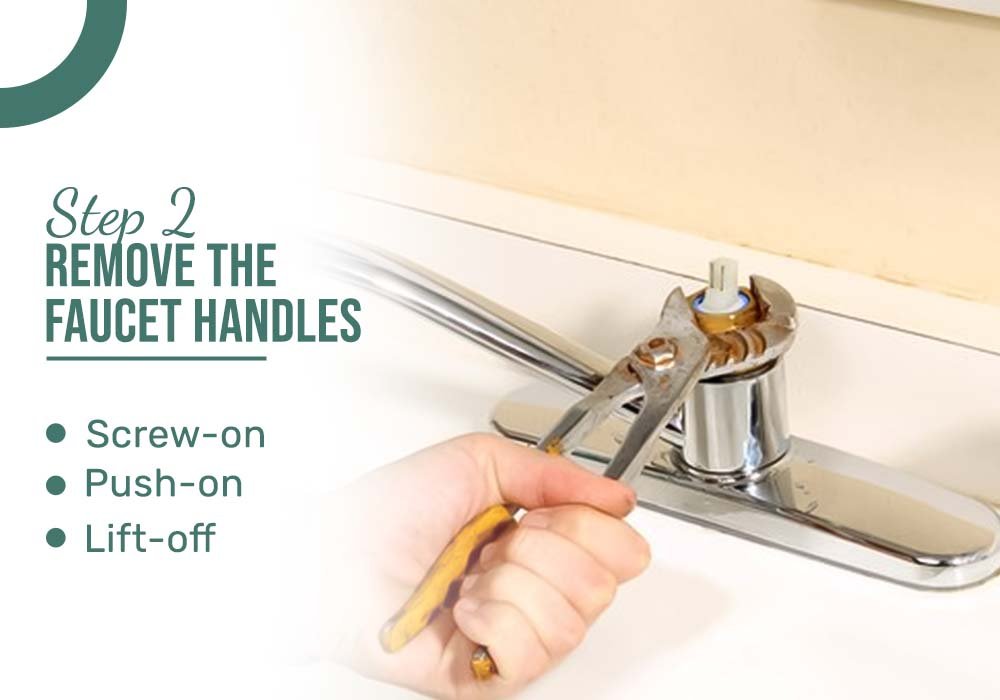
Identify the handle type and remove it carefully to access the internal components for repair.
- Screw-on: Use a screwdriver to remove the screw located on top or underneath the handle, then gently lift it off.
- Push-on: Grip the handle firmly and pull it straight off the faucet. It should come off without excessive force.
- Lift-off: Simply lift the handle straight up from the base. Ensure it’s not stuck before attempting to remove it.
Identify the handle type and remove it carefully to access the internal components for repair. If you’re considering a complete faucet replacement or need guidance on removing the entire bathtub faucet, check out our Complete Guide on How to Remove a Bathtub Faucet for step-by-step instructions.
Step 3: Inspect and replace any worn-out parts

Check for worn-out parts, including washers and O-rings. Replacing them can resolve leaks and restore proper faucet function.
- Washers:
Washers are rubber components that create a seal within the faucet. If they’re cracked or worn, replace them to prevent leaks.
- O-Rings:
O-rings are circular rubber seals that fit into grooves. Replace them if they appear brittle, discolored, or damaged to ensure a tight seal.
Step 4: Check and tighten any loose screws
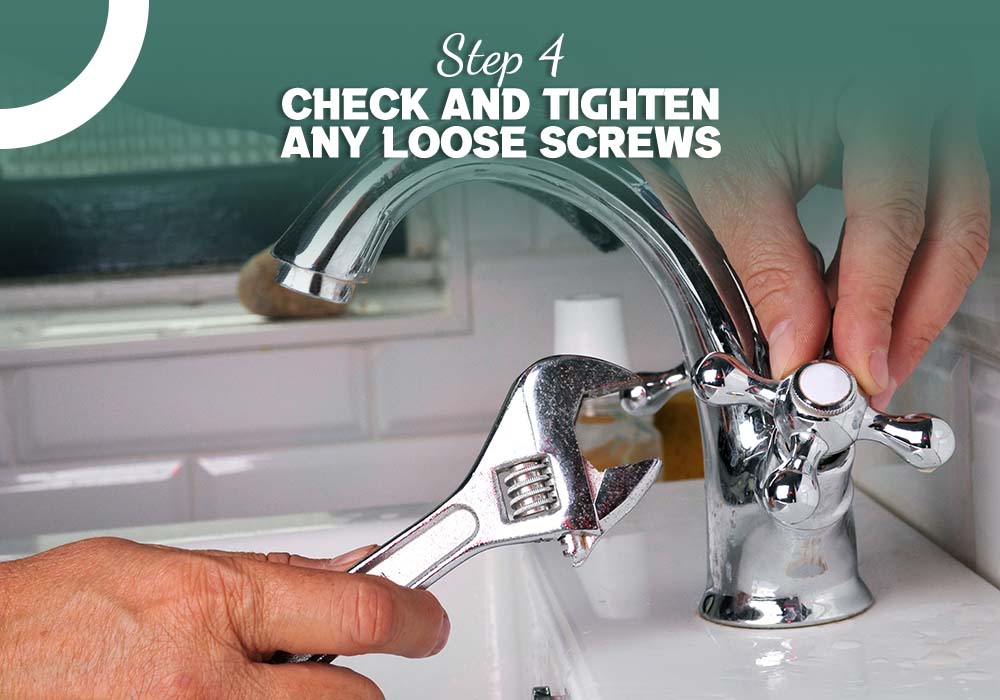
Carefully inspect all screws connected to the faucet handles. Use a screwdriver to tighten any loose screws, ensuring a secure fit and preventing further leaks during operation.
Step 5: Reassemble the Faucet Handles
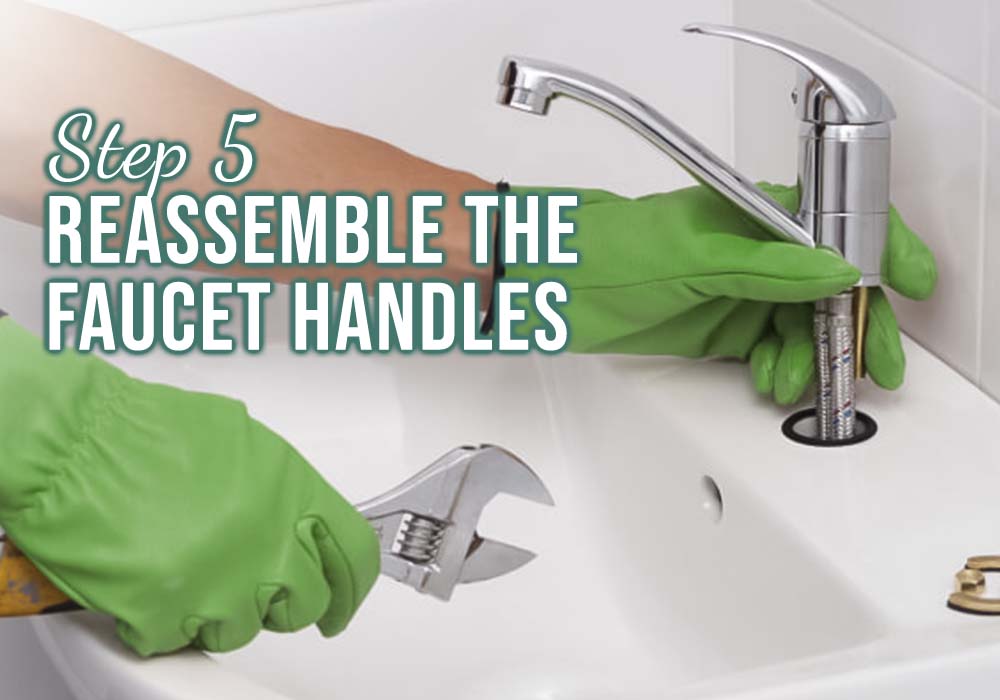
Carefully place the handles back onto the faucet after completing the leaky faucet repair. Ensure all components are aligned correctly to avoid further issues. Carefully place the handles back onto the faucet after completing the leaky faucet repair. Ensure all components are aligned correctly to avoid further issues. For more professional tips and troubleshooting advice, visit This Old House’s guide on faucet repairs.
For a dripping bathtub faucet, tighten the screws securely, making sure each handle operates smoothly. Test the faucet to confirm that the leak is fully resolved.
Step 6: Turn on the Water Supply and Test the Faucet
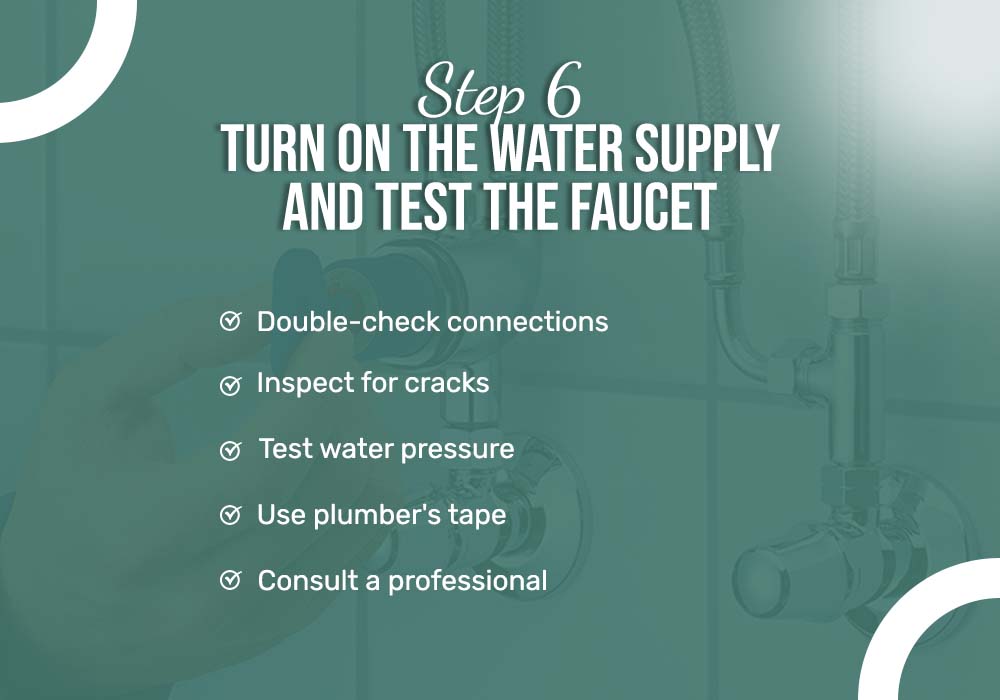
Once you’ve replaced the two-handle bathtub faucet, it’s time to restore the water supply. Turn the water back on and check for any leaks. If you notice that the faucet is still leaking, here are some troubleshooting tips on how to fix a leaky bathtub faucet with two handles:
- Double-check connections: Make sure all parts of the two-handle bathtub faucet are securely attached to ensure a proper seal. Loose connections can often lead to leaks.
- Inspect for cracks: Take a close look at the faucet body for any cracks that might be causing the leaks. Even small fractures can lead to significant water loss.
- Test water pressure: If your water pressure is too high, it may exacerbate leaks in the two-handle bathtub faucet. If necessary, adjust the pressure to see if that resolves the issue.
- Use plumber’s tape: For threaded connections, apply plumber’s tape to enhance sealing and prevent leaks. This is especially useful when reassembling parts of the faucet.
- Consult a professional: If the leaks persist after these steps, it might be time to consult a plumber. They can provide expert advice and help resolve any ongoing issues, ensuring your new faucet is functioning properly.
Maintenance Tips to Prevent Future Leaks
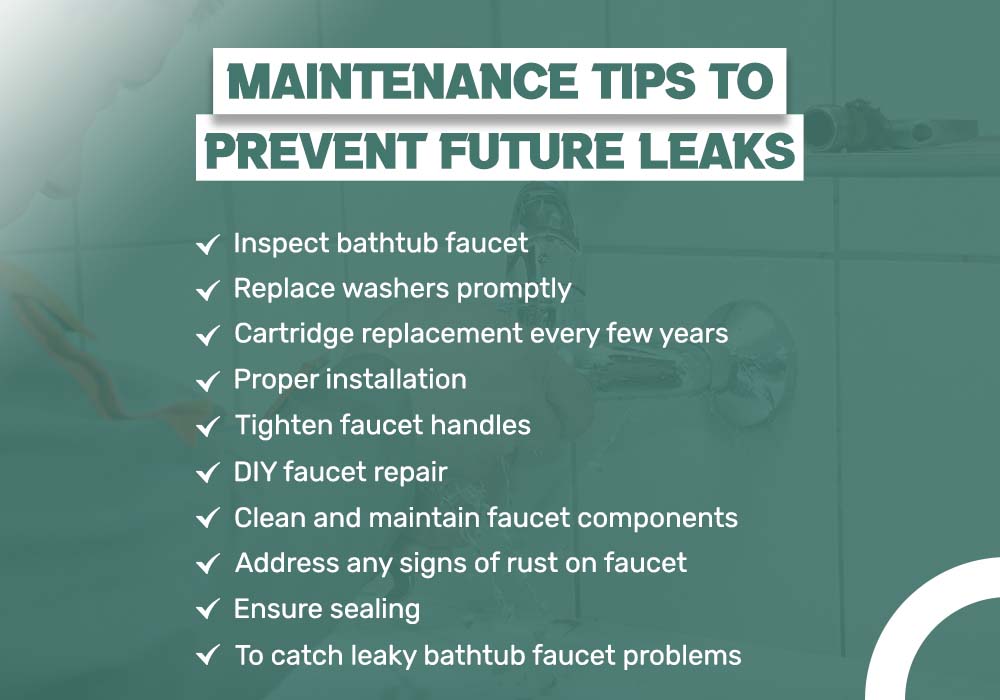
- Regularly inspect bathtub faucet parts for signs of wear.
- Replace washers promptly to fix faucet leak issues effectively.
- Schedule cartridge replacement every few years to prevent leaks.
- Ensure proper installation during two-handle faucet repair for durability.
- Tighten faucet handles to prevent water flow issues and leaks.
- Perform DIY faucet repair checks to catch issues early on.
- Clean and maintain faucet components to avoid leaky bathtub faucets.
- Address any signs of rust on faucet parts immediately.
- Use the plumber’s tape during faucet handle replacement to ensure sealing.
- Schedule regular check-ups to catch potential leaky bathtub faucet problems.
Conclusion
To fix a leaky bathtub faucet with two handles, start by turning off the water supply and removing the handles. Inspect and replace worn-out parts for effective repair.
Next, check and tighten any loose screws before reassembling the faucet handles. This ensures proper assembly when learning how to replace a two-handle bathtub faucet. Test the faucet afterward.
Handling household repairs like a two handle bathtub faucet saves time and money. Attempting repairs yourself builds skills and avoids costly plumber fees. Regular maintenance keeps your plumbing in top condition.
FAQs
How can I fix a leaky bathtub faucet with two handles?
To fix a leaky bathtub faucet with two handles, turn off the water supply, remove the handles, replace worn washers, and reassemble. This method works for many two handle bathtub faucet types.
What steps should I follow to replace a two handle bathtub faucet?
To replace a two handle bathtub faucet, first turn off the water supply. Then, unscrew the handles, disconnect the old faucet, and install the new two handle bathtub faucet by following the manufacturer’s instructions.
How do I fix a leaky faucet in my bathtub?
To fix a leaky faucet in your bathtub, identify the source of the leak, usually worn washers or seals, then disassemble the two handle bathtub faucet to replace them and reassemble carefully.