
A simple but effective method to improve the appearance and use of your kitchen is to upgrade your tap. Kitchen faucets from Moen, a well-known name in the plumbing business, come in a range of styles and are praised for their creative features and long lifespan. You’re at the correct spot if you just bought a Moen kitchen faucet and are excited to install it yourself. We’ll lead you through the installation of a Moen kitchen tap step-by-step in this tutorial to make sure everything goes well.
Tools and Materials:
- Bucket or towels
- Basin wrench
- Plumber’s tape
- Teflon tape
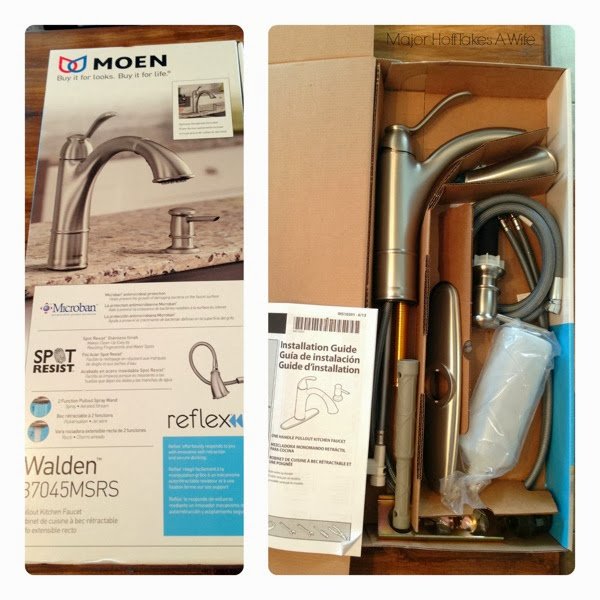
- Moen kitchen faucet kit
- Adjustable wrench
- Plunger (optional)
Method to Install a Moen Kitchen Faucet
Step 1
Make sure there is easy access under the washbasin before beginning the installation. To collect any water spills that may occur throughout the operation, place a bucket or towels below the sink.
Step 2
To turn off the water supply, find the shut-off valves beneath the sink and crank them in a clockwise direction. You may have to switch off your home’s main water supply if your washbasin lacks a separate shut-off valve.
Step 3
Disconnect the mounting bolts holding the old faucet in place as well as the water supply lines using an adjustable wrench. Take out the outdated washbasin tap. If the tap won’t go, you may be able to get more leverage by using a basin wrench.
Step 4
To guarantee a spotless and seamless installation of your new Moen tap, carefully clean the sink surface. Clear the area around the mounting holes of any debris or old plumber’s putty.
Step 5
Installing the new Moen faucet is required according to the manufacturer’s instructions. This usually entails inserting the tap through the mounting holes and tightening it with the supplied nuts from below. To guarantee a tight fit, first hand-tighten the nuts and then use a basin wrench.
Step 6
Connect the hot and cold water supply lines to the faucet’s matching valves. To firmly tighten the connections, use an adjustable wrench. Make sure there are no leaks in the connections.
Step 7
To make a watertight seal, encircle the threaded ends of the water supply lines with Teflon tape. This procedure guarantees a dependable connection and aids in leak Prevention.
Step 8
To get the tap to start flowing again, carefully open the shut-off valves. Examine the connections for any leaks, and tighten them as necessary.
Step 9
To check that the tap is operating properly, turn it on and test the hot and cold water. Verify the connections once again and make any required modifications if there are any problems or leaks.
Tips for a Successful Moen Kitchen Faucet Installation
- Read the Moen instruction booklet attentively before beginning the installation procedure. There can be subtleties and needs unique to each faucet type; the installation instructions in the handbook will walk you through them.
- For some faucets, a watertight seal between the faucet base and the sink may need to be made using a plumber’s putty. If the plumber’s putty recommended for your Moen faucet model is to be used, lightly coat the base with it before tightening the fitting.
- Make sure the Moen kitchen tap you’ve chosen works with the plumbing and sink you currently have. Check to see that the mounting holes in your sink correspond to the number on the new tap.
- Use a basin wrench to make sure the mounting nuts under the sink are tightened securely. Refrain from overtightening as this may harm the sink or the tap. For advice on the proper degree of tightness, refer to Moen’s suggestions.
- Check any connections for leaks carefully after turning on the water supply. Keep a careful eye on the locations where the shut-off valves and water supply pipes attach to the tap. Tighten the connections or reapply the plumber’s tape as necessary if you find any leaks.
- A plunger might be a useful tool if you have trouble removing the old tap. Press and pull the plunger to apply it over the faucet base and generate a hoover. This may facilitate the removal procedure by breaking any hard-to-release connections.
- Water may pool during installation, particularly if the previous faucet is disconnected. Store towels or a bucket under the sink to collect any leaks and stop the water from damaging the cabinetry or flooring.
- Check that the water pressure is up to par when the installation is finished. Examine the aerator for obstructions and the water supply pipes for debris if you see a noticeable drop in water pressure.
- Keep track of all the parts and components that come with the Moen faucet while it is being installed. This covers screws, washers, and nuts. Keeping your workstation tidy will facilitate the installation process and aid in problem-solving.
- After installing your Moen kitchen faucet, make frequent maintenance a part of your schedule. Periodically clean the aerator to avoid accumulation and guarantee a constant water flow. Furthermore, look for any indications of leaks or faulty connections, and take quick action to fix them.
Conclusion
Well done! Your Moen kitchen faucet has been installed successfully, bringing some flair and usefulness into your kitchen. You’ve improved your kitchen and experienced the joy of a well-executed do-it-yourself job according to these detailed directions. Savour the enhanced functionality that your new Moen faucet has brought to your kitchen!
How can I choose the perfect Moen kitchen faucet for my sink?
The amount of mounting holes in your sink, your preferred design, and any other features you may want should all be taken into account when choosing a Moen kitchen tap. Moen provides a range of finishes and styles to complement various kitchen designs.
Does the installation need any particular tools?
Commonly used basic tools include an adjustable wrench, plumber’s tape, and a basin wrench. However, depending on how your kitchen is set up, other equipment can be needed. Should you need any particular requirements, always consult the Moen instruction manual.
How often should my kitchen faucet be maintained by Moen?
To maintain your tap operating at its best, regular maintenance is required. A delicate cloth and a mild soap solution may be used to clean the tap. To avoid accumulation, clean and remove the aerator regularly. Make sure all connections are tight and leaks are found, then fix them right away.