
At first glance, bathtub faucet replacement may look pretty tricky because of the complexity and what looks inherent to it, but get the right direction at first, and it is a piece of cake. If you have to change faucets, which have become old, leaky or just for the sake of updating to a new style, follow this step-by-step guide to the end of this article and you will know exactly how to remove a bathtub faucet.

Understanding the Importance of Proper Faucet Removal
Why Removing a Bathtub Faucet Requires Care
The bathtub faucet is an essential element in your bathroom, and proper care should be taken during removal to avoid damage to the pipe system. Improper care can result in leaks, water variance, or other expensive and time-consuming damage repairs. Fixing a leaking faucet afterward can be challenging. However, with the right steps, you can ensure proper faucet removal without any effort.
Common Scenarios Where Faucet Removal Is Necessary
There are many reasons you might need to remove your faucet. Whether it’s leaking, corroded, too old, or you just want a change of design, knowing how to remove the faucet properly is essential. In this article, we’ll cover the common scenarios where you could encounter challenges with bathtub faucet removal.
Essential Tools and Materials You’ll Need
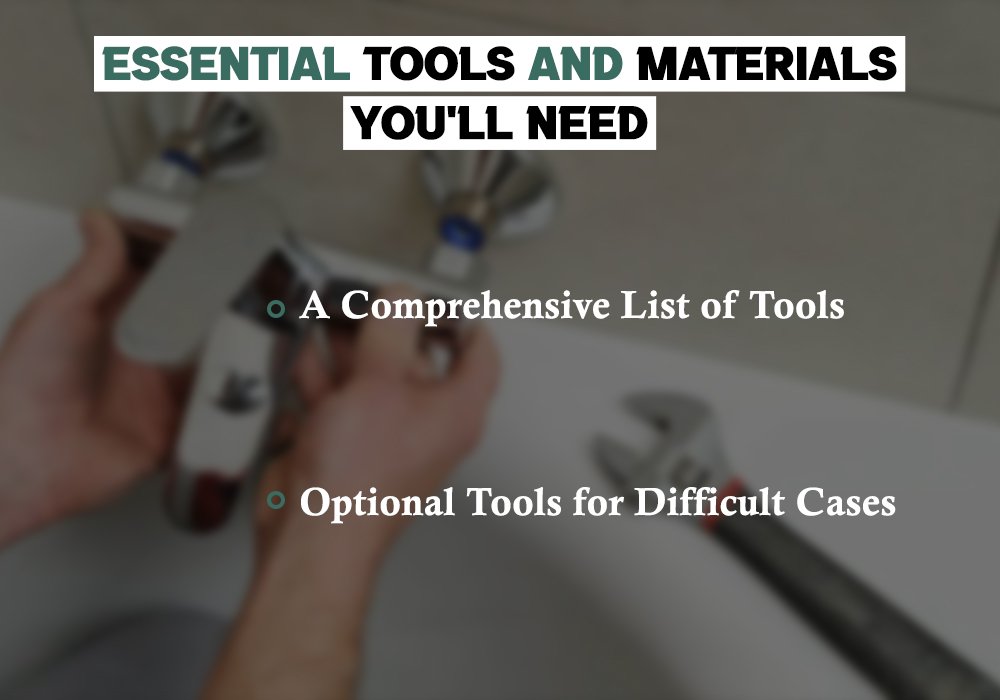
A Comprehensive List of Tools
Tools to Get You Started Before carrying out the removal, pick some basic tools that you will use to carry out the whole removal with ease. They include a bathtub faucet wrench, screwdriver, penetrating oil, plier, utility knife, and bathtub spout removal tool. Having these at your side will ease things. Some Optional Tools for Hard Cases
Optional Tools for Difficult Cases
Sometimes removal of the faucet is not as simple as it should be and this is where there are tools such as the sink faucet puller tool that comes in handy at such times. Can deal with the stuck and corroded parts that seemed impossible to remove.
Step-by-Step Guide to Removing a Bathtub Faucet
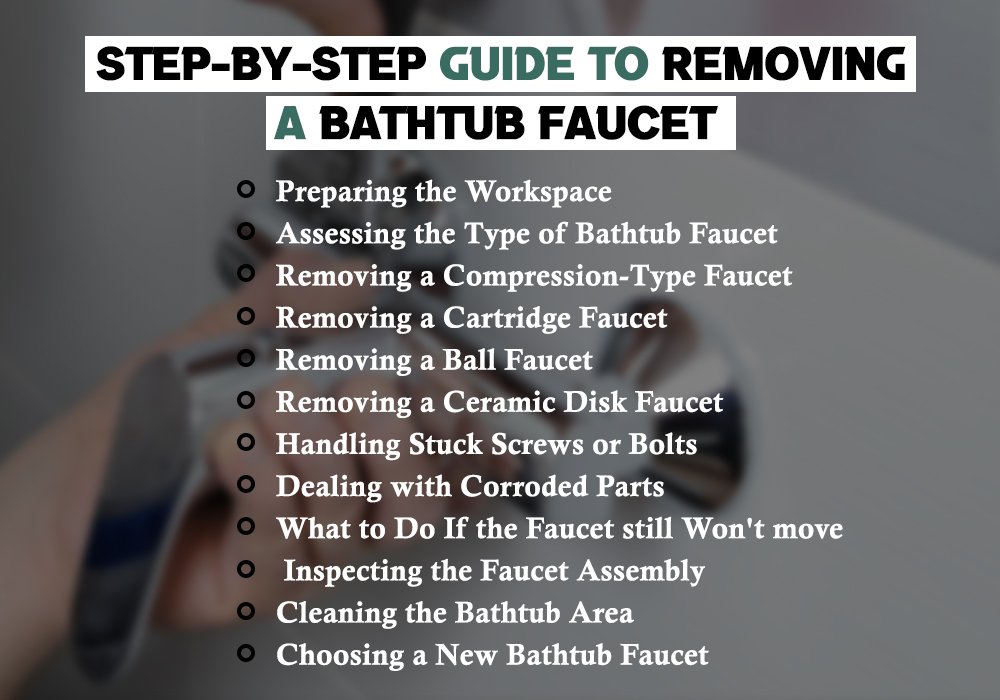
1. Preparing the Workspace
Clearing the Area Around the Bathtub
Start by removing the items around your bathtub. Move any personal objects, bath accessories, even bath mats that may hinder the working area. This will give you ample space to work on and prevent any risks of the items around you from accidentally damaging or getting dirtied in the process.
Turning Off the Water Supply
Before you start, the water supply has to be turned off. You can find the valve near your bathtub or the main water supply valve for the house. Close it to ensure that no water will spill when you start removing the faucet.
Draining Any Remaining Water
After shutting off the water, you should also empty the water that remains in the pipes by opening the tap and turning the tap until no more water comes out. This is crucial to avoid water damage when handling the repair.
2. Assessing the Type of Bathtub Faucet
Identifying Different Types of Faucets
Bathtub faucets are of several types, and it is important to know your faucet type before you attempt to take it off. Most typical types include compression, cartridge, ball, and ceramic disk faucets. Since how and what you will need to remove your faucet depends on what type of faucet you have, it is necessary to know your type.
How to Determine the Type of Faucet You Have
You can also tell this by looking at the Faucet. It will have two distinct levers which supply either cold or hot water respectively, in the case of a compression faucet. Regarding cartridge faucets, you might have noticed that it has a single lever. Explained. Here you can now follow the given removal procedure for your type of faucet.
3. Removing a Compression-Type Faucet
Loosening the Screws and Removing the Handles
For the compression type of faucet, the handles are taken away first. Remove whatever screws are securing the handles using a screwdriver. Gently pull out the handles to expose the escutcheon plate.
Detaching the Escutcheon Plate
The escutcheon plate is a protective cover over the wall hole through which the faucet protrudes. Cut through the caulking around the plate with a utility knife. Pull the plate off the wall, gently prying it out so it doesn’t damage the tiles around it.
Removing the Stem Assembly
With the escutcheon plate off, you have the stem assembly exposed. With the help of a bathtub faucet wrench, you can unscrew the stem from the body of the faucet. Be gentle while doing this process because, if you exert too much force, the pipes may wreck.
4. Removing a Cartridge Faucet
Removing the Handle
Cartridge faucets usually have a single handle. The handle may be extracted with the help of an Allen wrench or a screwdriver. With the handle removed, you will have access to the retaining nut that fixes the cartridge in place.
Extracting the Cartridge
Use the pliers to break the retaining nut loose and remove the cartridge. If the cartridge is very difficult to remove, into the penetrating oil, free leave it for a while to loosen everything before pulling the cartridge. Sometimes the only solution to remove a very stubborn cartridge is by using special tools such as cartridge pullers.
5. Removing a Ball Faucet
Taking Off the Handle
Ball faucets are easily identified by their single handle that can control water’s warmness coldness and flow. Remove the handle to reveal the working parts inside.
Removing the Cam and Packing
Under the handle is the cam and packing. Using pliers, gently remove them making sure that you don’t damage them.
Taking Out the Ball Assembly
Finally, remove the ball assembly Unscrew this very carefully. This is a delicate assembly and should be removed very carefully so as not to let it go outside. It may be tight, and in case it is, then you can use penetrating oil or a bathtub faucet wrench.
6. Removing a Ceramic Disk Faucet
Handle and Escutcheon Plate Removal
Ceramic disk faucets are usually very tough and very common in today’s bathrooms. You will begin this exercise by loosening the handle and the escutcheon plate in the same manner that you loosen up other kinds of faucets.
Extracting the Ceramic Disk
Once you have removed the plate, you will see the ceramic disk. You have to remove it very carefully but very cautiously as well because the ceramic disk is likely to snap and break into pieces. These usually are expensive.
7. Handling Stuck Screws or Bolts
Using Penetrating Oil
In case you come across stuck screws or bolts in your plan of removing it, this oil is your best pal. It is better to apply a generous amount and wait for a few minutes to have the oil work its magic.
Applying Heat to Loosen Screws
In certain instances, heat can be employed to loosen resistant screws or bolts. A gun or hairdryer heats the metal, increasing its expandability and allowing its removal with great ease.
8. Dealing with Corroded Parts
Vinegar or a Commercial Descaler: Corrosion in most of the older faucets is pretty ubiquitous. To address it, soak the corroded part of the faucet into vinegar or a commercial descaler for a few hours. You will find corrosion parts that will start to dissolve and it will be easy to remove.
9. What to Do If the Faucet still Won’t move
Using a Faucet Puller Tool
If none of the above methods work and the faucet still will not move, it may be time for a faucet puller. The faucet puller is designed to give the extra leverage needed to extract tight faucets.
When to Consider Professional Help
Every once in a while, all your valiant efforts to take the faucet off are to no avail. Isn’t it about time you threw in the towel? Call a professional. They know precisely what to do and have the right equipment to be able to take off the faucet. The professional would not harm the plumbing in the course of his work.
10. Inspecting the Faucet Assembly
Once the faucet is out, you should have a closer look at the assembly for the presence of any wear. Certain cracks corrosion or corrosion and any other menacing damage can be good reasons to replace it.
11. Cleaning the Bathtub Area
You will want to clean the area surrounding the bathtub of any residue or build-up in preparation for a new faucet to be installed. Make sure that any old caulking, grime, or any other residue has been cleaned off and that you have a nice clean surface for the installation of the faucet.
12. Choosing a New Bathtub Faucet
With A New Tub Faucet in Mind, As you shop around for a new faucet, remember to consider the functionality, style, and material of a faucet. And assure that you can fix a new compatible plumbing and it will be aesthetically of your type.
A task as challenging as it is, removing a bathtub faucet doesn’t have to be. Packing readiness with the right tools and guidance, the removal of your faucet is sure to be safely and harmlessly done. Whether you need it done for simple repair, or a full bathroom remodeling, follow through with these steps.
What tools do I need to remove a bathtub faucet?
To remove a bathtub faucet, you typically need a bathtub faucet wrench, screwdriver, penetrating oil, pliers, utility knife, and a bathtub spout removal tool. For more difficult cases, you might also need a faucet puller or a cartridge puller.
How do I know what type of faucet I have?
You can identify your faucet type by its design. Compression faucets usually have two separate handles for hot and cold water, while cartridge faucets typically have a single handle. Ball faucets have a single handle that controls both temperature and flow, and ceramic disk faucets are modern, usually with a single handle.
What should I do if my faucet is stuck and won’t come off?
If your faucet is stuck, you can apply penetrating oil and let it sit for a while to loosen the parts. If that doesn’t work, you can use heat to expand the metal or employ a faucet puller tool for extra leverage. If all else fails, consider calling a professional for assistance.