Introduction
A dripping kitchen faucet can be a frustrating and wasteful problem. Not only does it waste water, but it can also lead to costly water damage if left unaddressed. Fortunately, fixing a leaky kitchen faucet is a relatively simple task that can be done with a few basic tools and some know-how. In this guide, we’ll walk you through the process of fixing a leaky kitchen faucet step-by-step, from identifying the type of faucet to testing and finishing up.

Preliminary Steps
Before you begin fixing your leaky kitchen faucet, there are a few preliminary steps you should take to ensure a smooth and successful repair:
- Turn off the water supply. Before you begin any plumbing repair, it’s important to turn off the water supply to the affected area. Locate the shut-off valve under the sink and turn it clockwise to shut off the water supply.
- Plug the drain. Plugging the drain will prevent any small parts or tools from falling down the drain and getting lost.
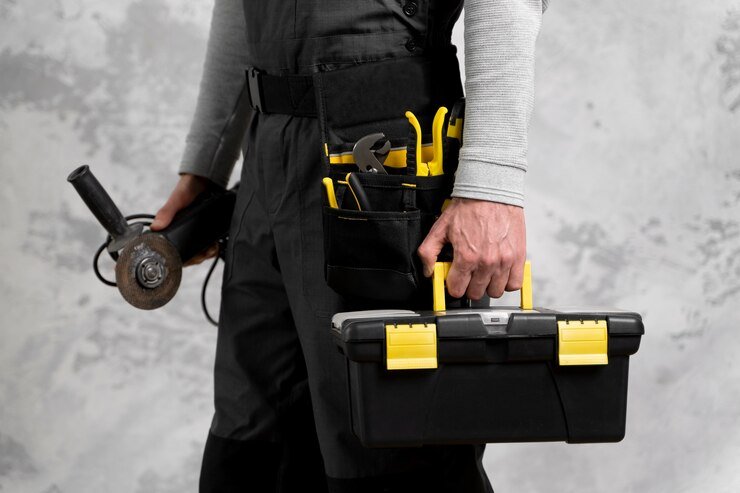
- Gather your tools and materials. You’ll need a few basic tools and materials to fix your leaky kitchen faucet. These include:
- Adjustable wrench
- Screwdriver
- Allen wrench
- Replacement parts (depending on the type of faucet)
Identify the Type of Faucet
Before you can begin fixing your leaky kitchen faucet, you’ll need to identify the type of faucet you have. There are four main types of kitchen faucets:
- Compression faucets. Compression faucets are the oldest type of faucet and are easily identifiable by their two handles. They work by compressing a rubber washer against a valve seat to stop the flow of water.
- Ball faucets. Ball faucets are identifiable by their single handle and ball-shaped cap. They work by using a ball bearing to control the flow and temperature of the water.
- Cartridge faucets. Cartridge faucets are identifiable by their single handle and cylindrical body. They work by using a cartridge to control the flow and temperature of the water.
- Ceramic disc faucets. Ceramic disc faucets are identifiable by their single handle and wide cylindrical body. They work by using two ceramic discs to control the flow and temperature of the water.
For specific instructions on fixing a leaky single-handle disk faucet, check out our detailed guide on how to fix a leaky single-handle disk faucet.
Tools and Materials

The tools and materials you’ll need to fix your leaky kitchen faucet will depend on the type of faucet you have. Here’s a general list of tools and materials you’ll need:
- Adjustable wrench
- Screwdriver
- Allen wrench
- Replacement parts (depending on the type of faucet)
Step-by-Step Instructions
Now that you’ve identified the type of faucet you have and gathered your tools and materials, you’re ready to begin fixing your leaky kitchen faucet. Here’s a step-by-step guide:
- Remove the handle. Use a screwdriver or Allen wrench to remove the handle from the faucet.
- Remove the nut. Use an adjustable wrench to remove the nut that holds the faucet cartridge in place.
- Remove the cartridge. Pull the cartridge out of the faucet body.
- Replace the O-rings. Remove the old O-rings from the cartridge and replace them with new ones.
- Reassemble the faucet. Reassemble the faucet in the reverse order that you took it apart.
- Test the faucet. Turn the water supply back on and test the faucet to make sure it’s working properly.
Testing and Finishing Up
Once you’ve reassembled your faucet, it’s important to test it to make sure it’s working properly. Here’s how:
- Turn on the water supply. Turn the water supply back on and let the water run for a few minutes to flush out any debris.
- Check for leaks. Check the faucet for leaks by turning it on and off several times.
- Tighten any loose connections. If you notice any loose connections, tighten them with an adjustable wrench.
- Finish up. Once you’re satisfied that your faucet is working properly, replace the handle and any other decorative parts.
Conclusion
Fixing a leaky kitchen faucet is a simple task that can save you money and prevent water damage. By following these step-by-step instructions, you can fix your leaky kitchen faucet in no time. Remember to turn off the water supply, plug the drain, and gather your tools and materials before you begin. If you also need to know how to remove a kitchen faucet, check out our guide on removing a kitchen faucet. Good luck!
