Want to make your kitchen sink look brand new? Installing a new faucet is a fun and easy DIY project! Whether you’re getting a just replacing an old one, this guide will help you through each step. You’ll learn what tools you need, how to turn off the water, take out the old faucet, and put in the new one. We’ll also share some handy tips to make sure everything fits right and doesn’t leak. Follow our easy steps to give your kitchen sink a fresh new look!
1. Prep for Installation
Before diving into the installation, gather your tools and materials. You’ll need:
- New kitchen faucet
- Adjustable wrench
- Plumber’s tape
- Bucket or towels (to catch water)
- Screwdriver
- Basin wrench (if needed)
2. Shut Water Off at Supply Valves
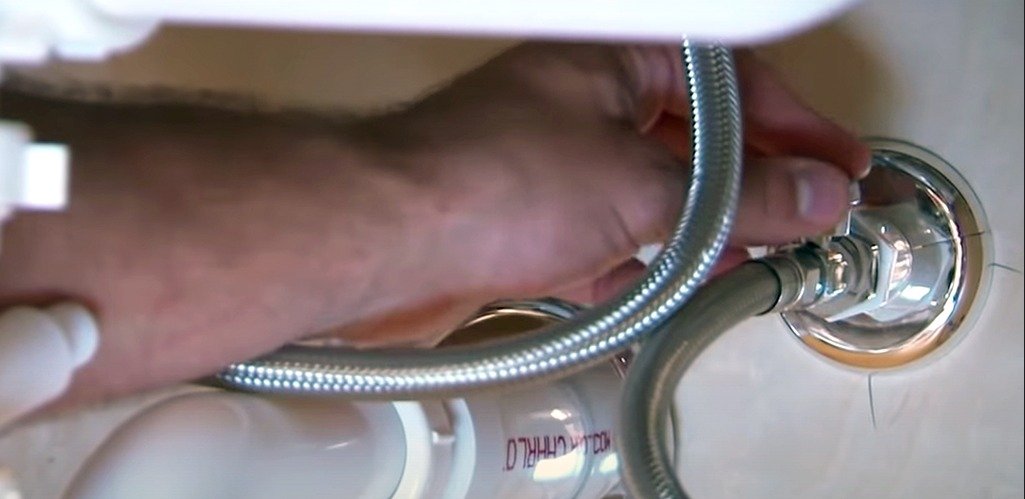
Turn off the water supply to your kitchen sink by closing the hot and cold water valves under the sink. This step prevents any unexpected water flow during the installation.
3. Disconnect Water Supply Lines
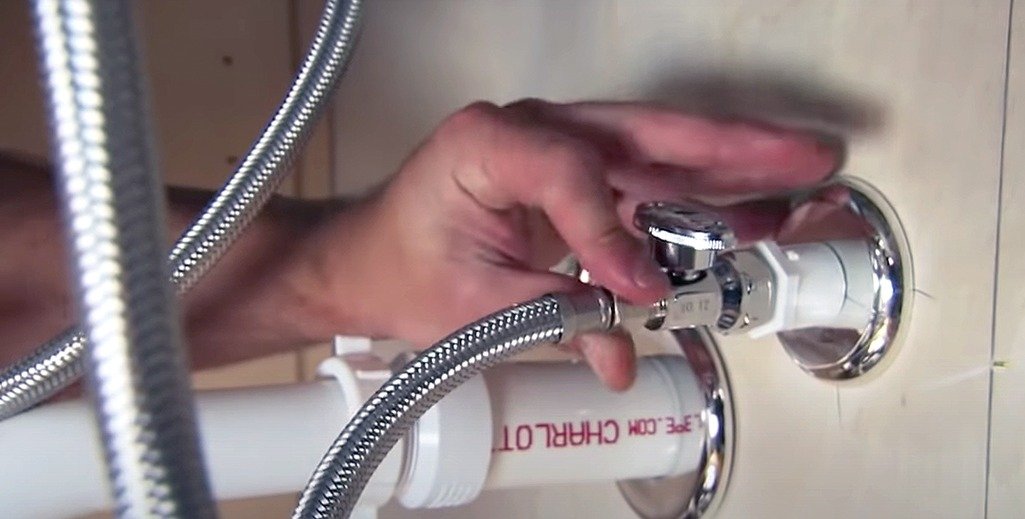
Use an adjustable wrench to disconnect the water supply lines from the old faucet. Be prepared for a little water spillage – keep that bucket or towels handy!
4. Remove Faucet Connections
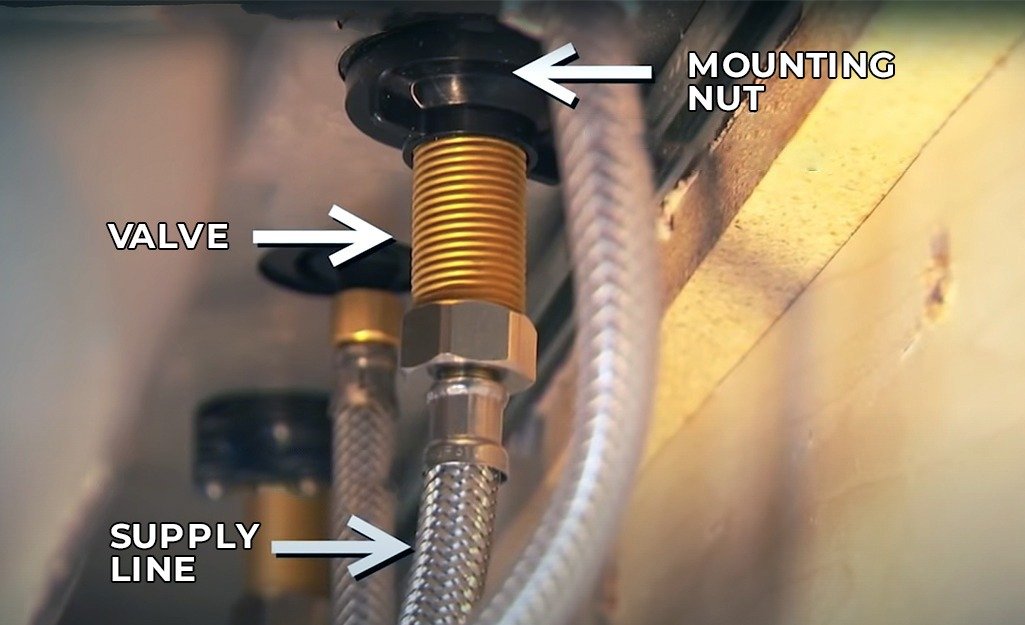
Take off the screw and the nuts securing the faucet to the sink. If your old faucet has a sprayer hose, detach it as well.
5. Remove the Old Faucet
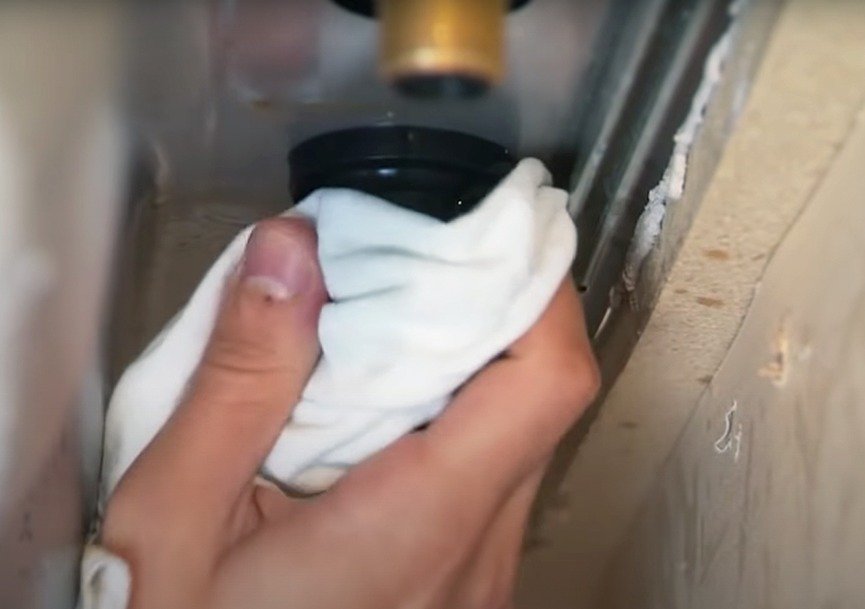
Lift out the old faucet carefully. Inspect the sink area for any debris or build-up. Clean it thoroughly before proceeding.
6. Install New Faucet

Follow these steps for a successful installation:
a. Position the New Faucet
Place the new faucet into the mounting holes on the sink. Make sure it aligns properly.
b. Secure the Faucet
From below the sink, tighten the nuts to secure the faucet in place. Use a basin wrench if necessary.
c. Attach the Water Supply Lines
Connect the hot and cold water supply lines to the corresponding valves on the faucet. Apply the plumber’s tape to the threads for a watertight seal.
d. Anchor Hot and Cold Valves
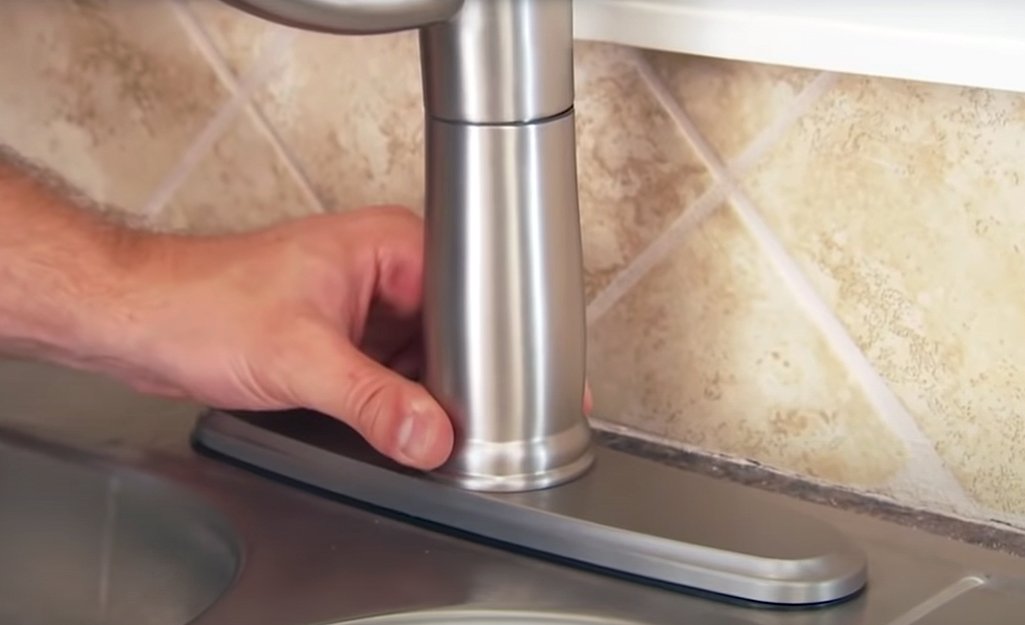
Secure the hot and cold water valves to the sink using the provided hardware. These valves control water flow to the faucet.
e. Connect Water and Flush Lines
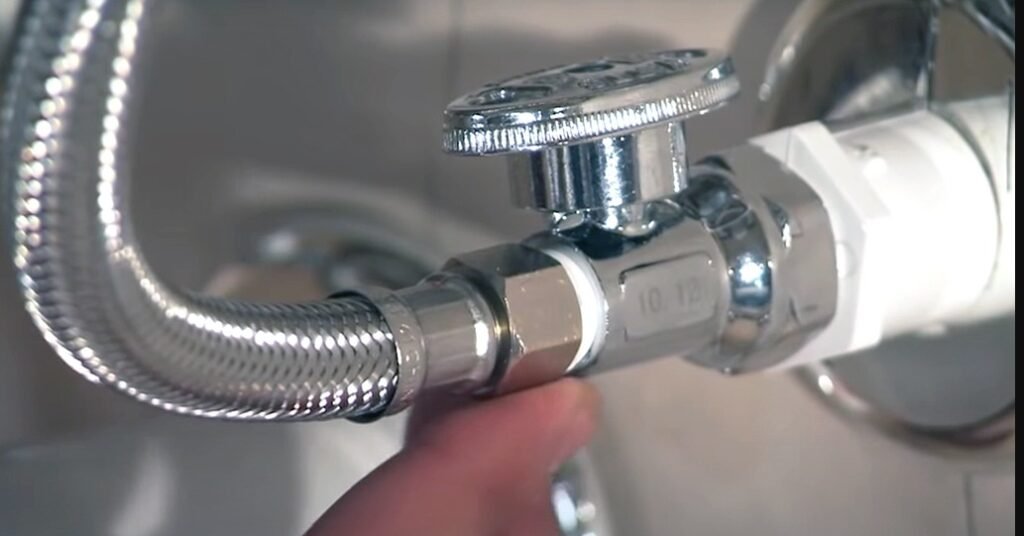
Attach the water supply lines to the shut-off valves. Turn the water back on and check for leaks. Flush the lines to remove any debris.
7. Tips for Installing a Kitchen Faucet
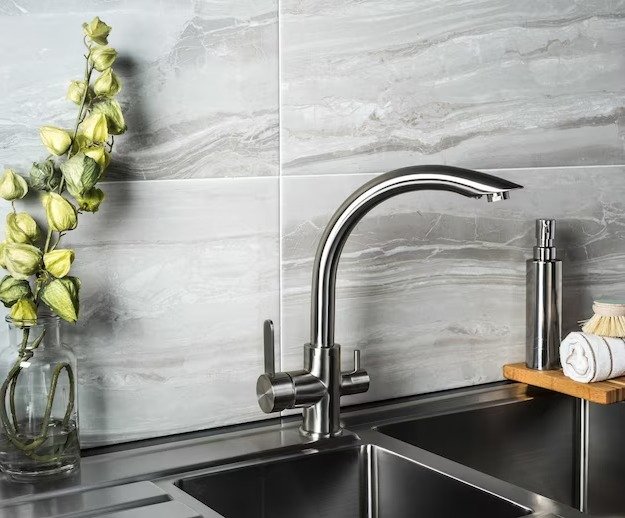
- Measure Twice: Ensure proper alignment and fit before securing the faucet.
- Plumber’s Tape: Use plumber’s tape on threaded connections to prevent leaks.
- Check for Leaks: Turn the water back on gradually and inspect for leaks.
- Test the Handles: Confirm that the hot and cold handles operate smoothly.
Further Topics
HOW TO REMOVE A KITCHEN FAUCET: A STEP-BY-STEP GUIDE
HOW TO FIX A LEAKY KITCHEN FAUCET
HOW TO INSTALL A MOEN KITCHEN FAUCET
HOW TO REPLACE A FAUCET AERATOR?
Conclusion
Congratulations! You’ve successfully installed your new kitchen faucet. Enjoy the convenience of a fresh, functional sink area. Whether a single-handle kitchen faucet or a pull-down masterpiece, you’re DIY skills have elevated your kitchen game!
FAQs
What tools do I need to install a kitchen faucet?
You will need a new kitchen faucet, adjustable wrench, plumber’s tape, screwdriver, basin wrench (if necessary), and a bucket or towels to catch water.
How do I shut off the water supply before installing a kitchen faucet?
Turn off the water supply by closing the hot and cold water valves located under the sink.
How do I disconnect the water supply lines from the old faucet?
Use an adjustable wrench to disconnect the water supply lines from the old faucet, ensuring to have a bucket or towels ready to catch any water.
What steps are involved in removing the old kitchen faucet?
Remove the screws and nuts securing the old faucet to the sink, and detach the sprayer hose if applicable. Lift out the old faucet carefully and clean the sink area.
What are the steps for installing a new kitchen faucet?
Position the new faucet into the mounting holes on the sink.
Secure it from below with nuts, ensuring proper alignment.
Connect the hot and cold water supply lines to the faucet valves, using plumber’s tape for a seal.
Anchor the hot and cold water valves to the sink.
Attach the water supply lines to the shut-off valves, turn on the water gradually, and check for leaks.
