
Introduction
Have you ever felt annoyed by that wobble in your Moen kitchen faucet handle? It’s not unsightly. It can also be a bit of a nuisance when using your faucet. Some time as well as a few simple equipment are required to tighten a loose Moen kitchen tap handle. First, shut off the water supply to prevent any unintentional leaks.
Next, find the set screw, which is typically hidden on handles by a decorative covering. Remove this cap with a flathead screwdriver or equivalent tool, then use an Allen wrench to tighten the set screw. Verify that the handle is securely fastened, but avoid overtightening it as this may be hazardous. Finally, replace the decorative lid and turn on the water. With this simple fix, you can avoid further loosening and get your tap working again.
Don’t worry In this guide we’ll show you how to fix your loose Moen kitchen faucet handle throughly and get your sink back in working order.
Related Topic: How to Tighten a Kitchen Faucet A Comprehensive Guide
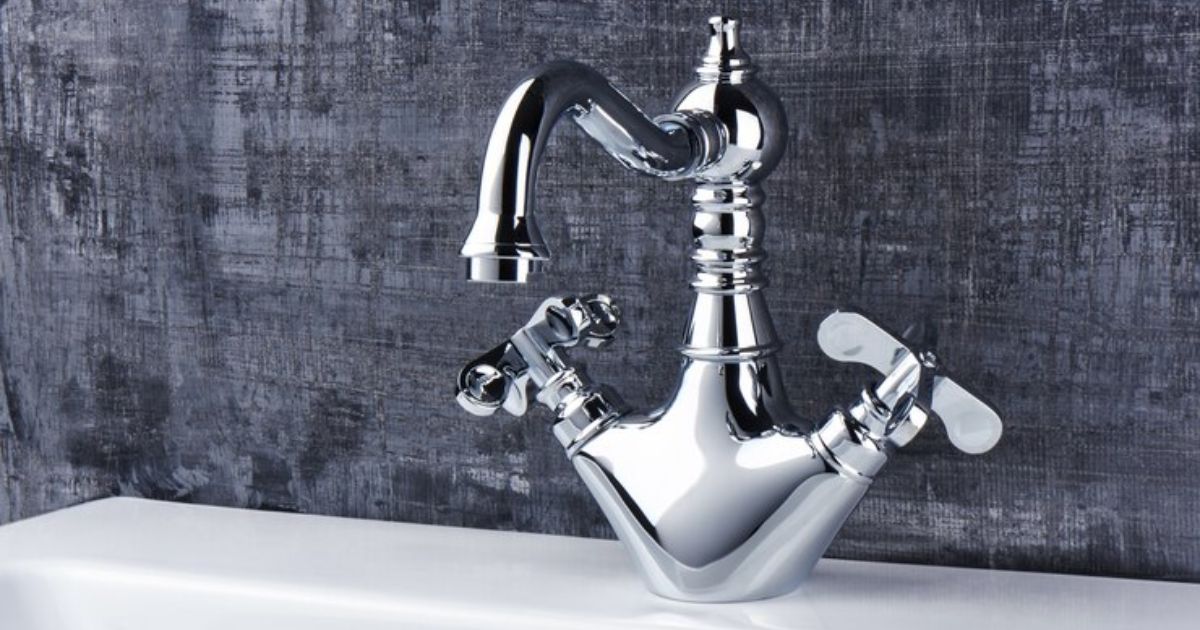
The Anatomy of a Moen Kitchen Faucet Handle
Before we start fixing it let’s examine the parts that form a Moen kitchen faucet handle. Knowing how these components function collectively will assist you in pinpointing the cause of the wobbliness and addressing it with precision.
The typical Moen kitchen faucet handle consists of several key parts:
- Handle:
The part you grip to control the flow and temperature of the water. - Base:
The bottom portion of the handle that attaches to the faucet assembly. - Mounting Nut or Set Screw:
Secures the handle to the faucet mechanism. - Cartridge or Valve Stem:
Controls the flow of water within the faucet. - Handle Adapter:
Connect the handle to the cartridge or valve stem.
Assessing the Severity of the Issue
Let’s first examine the parts of a Moen kitchen faucet handle before we start repairing it. Knowing how these components function together can assist you in pinpointing the cause of the wobbliness and addressing it with precision.
Here are some ways you can assess how serious the issue is:
- Wiggle Test:
Gently wiggle the handle back and forth to see how much play it has. - Visual Inspection:
Examine the handle and base for -any visible signs of damage or wear. - Listen for Clicking or Grinding Sounds:
These noise s could indicate internal issues with the faucet mechanism.
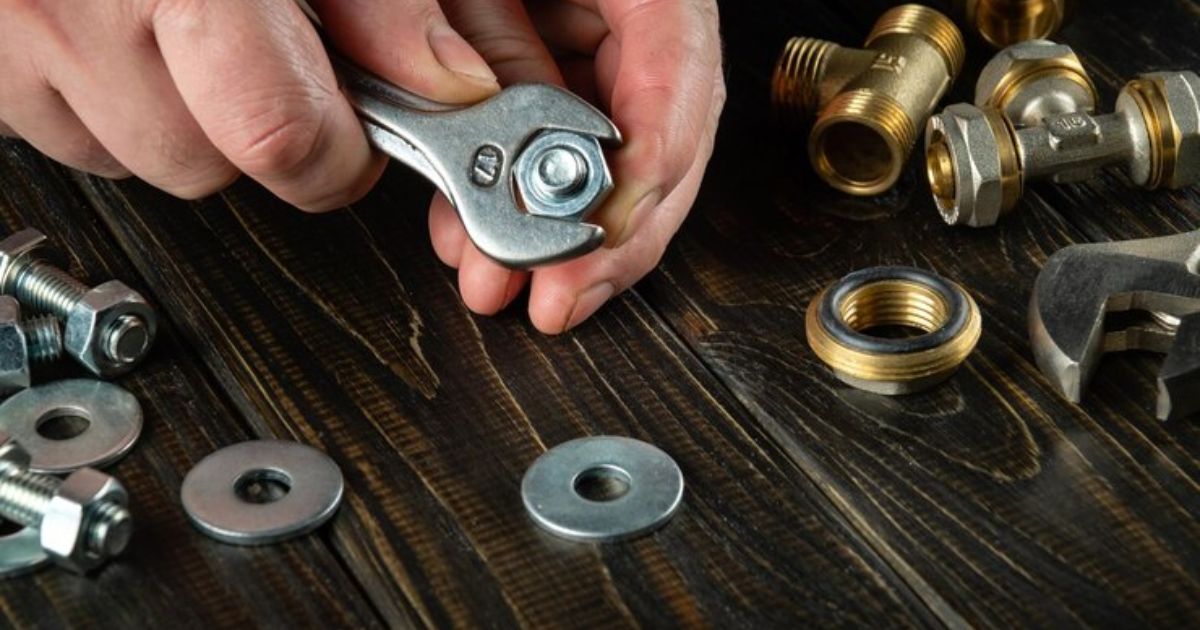
Tools and Materials Needed
Before you begin the repair process gather the necessary tools and materials.
Here’s what you’ll need:
Tools:
- Adjustable Wrench
- Phillips Head Screwdriver
- Allen Wrench (if applicable)
- Plumber’s Tape (optional)
- Lubricant (optional)
Materials:
- Replacement Parts (if needed)
- Towel or Rag
Having these tools and materials on hand will ensure that you’re prepared to tackle the repair efficiently.
A Simple Guide to Fixing a Loose Moen Kitchen Faucet Handle
Now that you know how your Moen kitchen faucet handle is put together and have checked how serious the problem is it’s time to get down to business. Here’s a guide on how to fix your handle.
1. Preparation
Before you start adjusting the handle of your Moen kitchen faucet make sure to shut off the water supply to avoid any mess. Place a towel in the sink to catch any drips while you’re working on it. These basic steps will help make the repair process easier and less stressful.
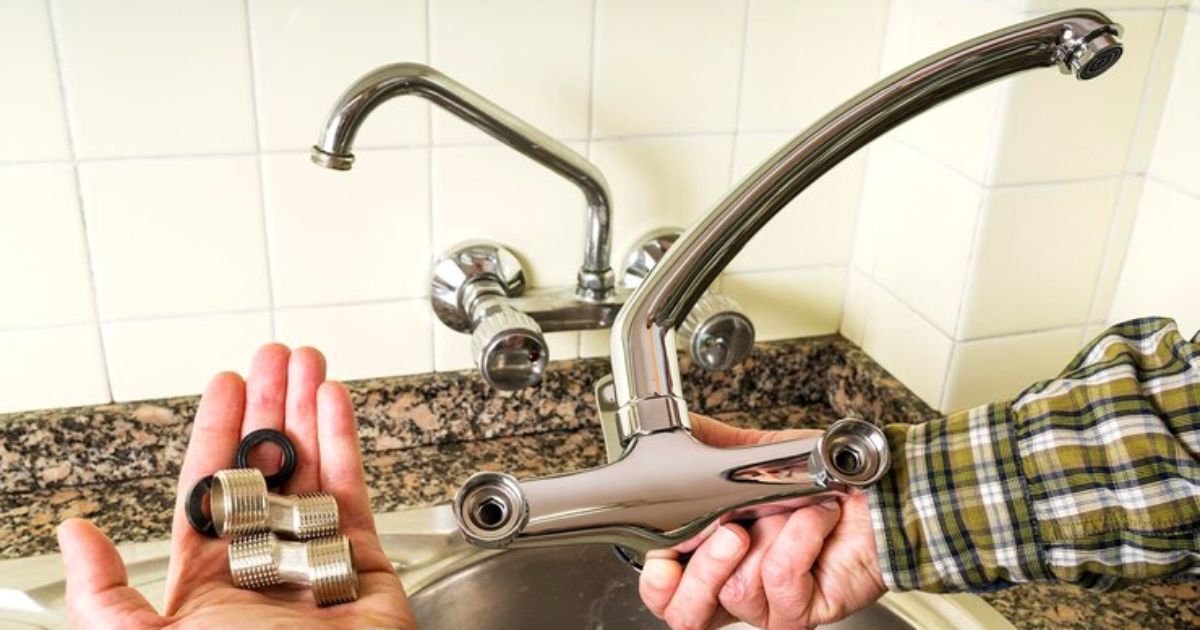
2. Removing the Handle
The next task, in tightening your Moen kitchen faucet involves taking off the handle. Utilize either a Phillips head screwdriver or an Allen wrench to unscrew the set screw or mounting nut positioned below the handle.
After loosening it carefully raise the handle off the faucet base. Remember to keep an eye on any parts or screws to prevent losing them when putting everything together. This method grants you access to examine and fix the parts of the faucet.
3. Inspecting for Damage
Once the handle is removed inspect the mounting nut or set screw for any signs of damage or wear. Additionally, check the handle adapter and cartridge or valve stem for any loose connections.
4. Tightening the Mounting Nut or Set Screw
Ensuring the mounting nut or set screw is securely fastened is a step in repairing a handle on a Moen kitchen faucet. Locate the nut. Screw beneath the handle using a wrench and turn it clockwise to tighten it properly.
It’s important not to tighten to avoid damaging the faucet parts. This process aims to eliminate any shaking or unsteadiness in the handle restoring functionality to your faucet.
When tightening the nut or screw remember to exert pressure and make tweaks. Excessive tightening can strain the faucet components leading them to wear out. Also be cautious of the materials of your handle and base while avoiding stripping or damaging threads during tightening. By being methodical you can achieve a fit without risking harm to your faucet.
After securing the nut or screw, conduct an inspection to confirm that the handle is stable and no longer wobbles. Test by moving it forth for stability reassurance. If any wobbling persists recheck tightness. Make adjustments as needed. Be sure to tighten the mounting hardware to keep your Moen kitchen faucet handle secure and working well for years.
5. Reassembling the Handle
- Putting Back the Handle;
Gently place the handle back onto your Moen kitchen faucet base ensuring all pieces are properly aligned. Once in place use a screwdriver. Wrench to tighten the screw or set screw preventing any potential wobbling issues. - Checking for a Snug Fit;
After tightening the tug at the handle confirm that it is firmly attached to the base and doesn’t shift. This final check ensures that your faucet handle is securely fixed in position and ready, for trouble free use.
6. Testing the Fix
Turn on the water supply and test the handle to ensure that it no longer wobbles. If everything looks and feels secure congratulations- You’ve successfully tightened your Moen kitchen faucet handle.
Troubleshooting and Next Steps
If despite your best efforts the handle remains loose or you encounter any other issues during the repair process don’t panic. Here are a few troubleshooting tips and next steps to consider:
- Double-Check Connections:
Make sure all connections are secure and properly aligned. - Seek Professional Help:
If you’re uncomfortable with DIY repairs or suspect a more significant issue with your faucet don’t hesitate to contact a professional plumber for assistance.
Preventative Maintenance Tips
To avoid your Moen kitchen faucet handle from becoming loose in the future you should follow these maintenance suggestions;
Routine Checkups:
Every now and then inspect your faucet handle to spot any looseness or wear.
Regular. Lubrication:
Keep the handle and faucet components clean. Remember to lubricate moving parts for performance.
Correct Installation:
When installing a faucet handle make sure to adhere to the manufacturers guidelines for a snug fit.
Conclusion
Repairing a handle on a Moen kitchen faucet is a task that can be accomplished using basic tools. Simply follow the instructions provided in this guide to securely tighten the handle and regain functionality of your faucet.
Be sure to inspect for any indications of damage or wear while making the repair and feel free to reach out to a professional if necessary. With some knowledge you can bid farewell to handles and relish in a seamless and trouble free kitchen environment.
For step-by-step instructions on installing a Moen kitchen faucet, click here.
To read detailed guides on Kitchen maintenance and repairs, visit This Old House.
What’s the trick to tightening my Moen kitchen faucet handle?
Grab a wrench. Snug up the mounting nut or set screw beneath the handle until it feels nice and secure.
Any tips on fixing a handle on a kitchen faucet?
Simply tighten up that mounting nut or set screw hidden underneath the handle with a wrench or screwdriver.
Which Allen wrench size is best for tightening a Moen kitchen faucet handle?
The ideal Allen wrench size for tightening your Moen kitchen faucet handle might vary,. Typically a 3/32 inch or 2.5mm one does the job right.
Ways to take off the kitchen faucet handle from Moen?
Locate that sneaky set screw or mounting nut hiding under your handle then use a tool like an Allen wrench or adjustable wrench to loosen and detach it. Once that’s done your handle should come off smoothly.
How can I remove the tap handle from my Moen fixture?
It’s much like removing a kitchen faucet handle find and loosen that set screw or mounting nut lurking beneath the surface of your taps handle. Once its loosened up gently pull away to remove the handle. Instructions for repairing a loose faucet handle; Use a screwdriver or wrench to tighten the set screw or mounting nut beneath the handle until it is firm and does not move.